Map
The map shows the network that the base node belongs to, with both nodes and links rendered on top of a real-world map.
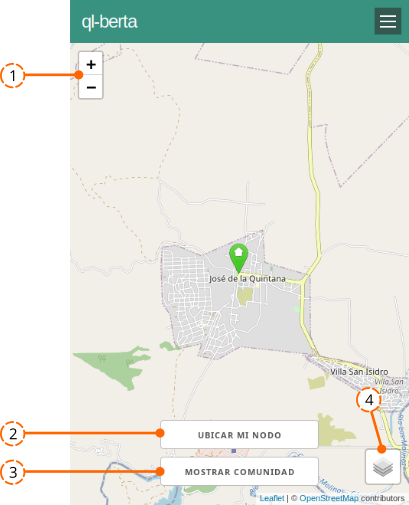
- Zoom. The + and − buttons zoom the map in and out.
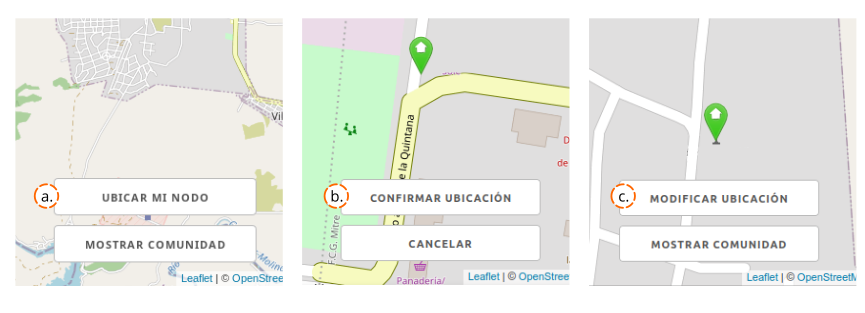
- This button can have different functions. If the node has not been located yet, it reads: a. Locate my node. Tapping the button shows a floating marker that you drag and drop on the map at the correct location. b. Confirm location. Once placed, press this button to apply the change and confirm the node's position on the map. If the node has already been located, it reads: c. Modify location. Lets you re-position the node.
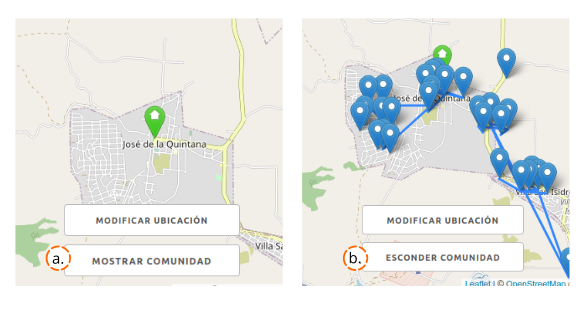
- Alternately, this button lets you choose between: a. Show community, to see the full network on the map. b. Hide community, to hide the links and locations of the other nodes, leaving only the base node on the map.
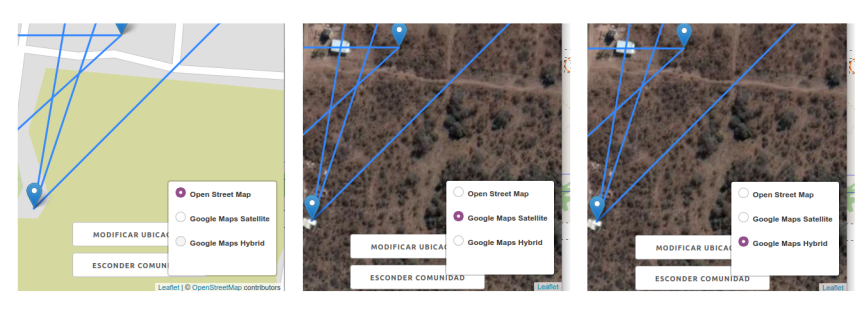
- Map layers. Switches the base map used to render the nodes and the network. Three options are available: OpenStreetMap, Google Maps Satellite, and Google Maps Hybrid.
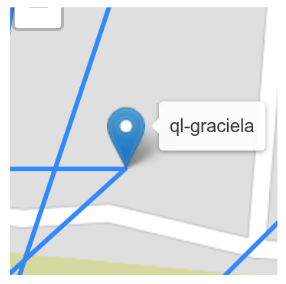
There is one more behaviour worth mentioning: tapping the icon of any node displays the name of the selected node.
Attribution. Translated from «Mapa» by AlterMundi, licensed under CC BY-SA 4.0.